![]()
'Carry On Camping'
A Modelling Masterclass by Tony Harwood
All armies need somewhere to sleep as they campaign across continents, Master Modelmaker Tony Harwood addresses this problem.
~
Click on the photos below to open the full higher resolution image.
~
Introduction
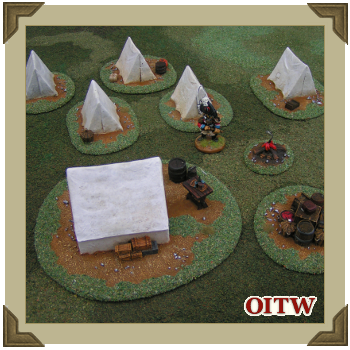
The impedes of producing these modelling articles has led me to finish a number of terrain modelling pieces that have, to date, been put on the back burner. One such article is this one - a complete Flintloque/Slaughterloo Marching Camp - including tents, a fire, stores and equipment.
I would like to report that I have researched and sketched loads of different tents and equipment. However, in truth I had a quick search on Google images and produced one rough drawing!
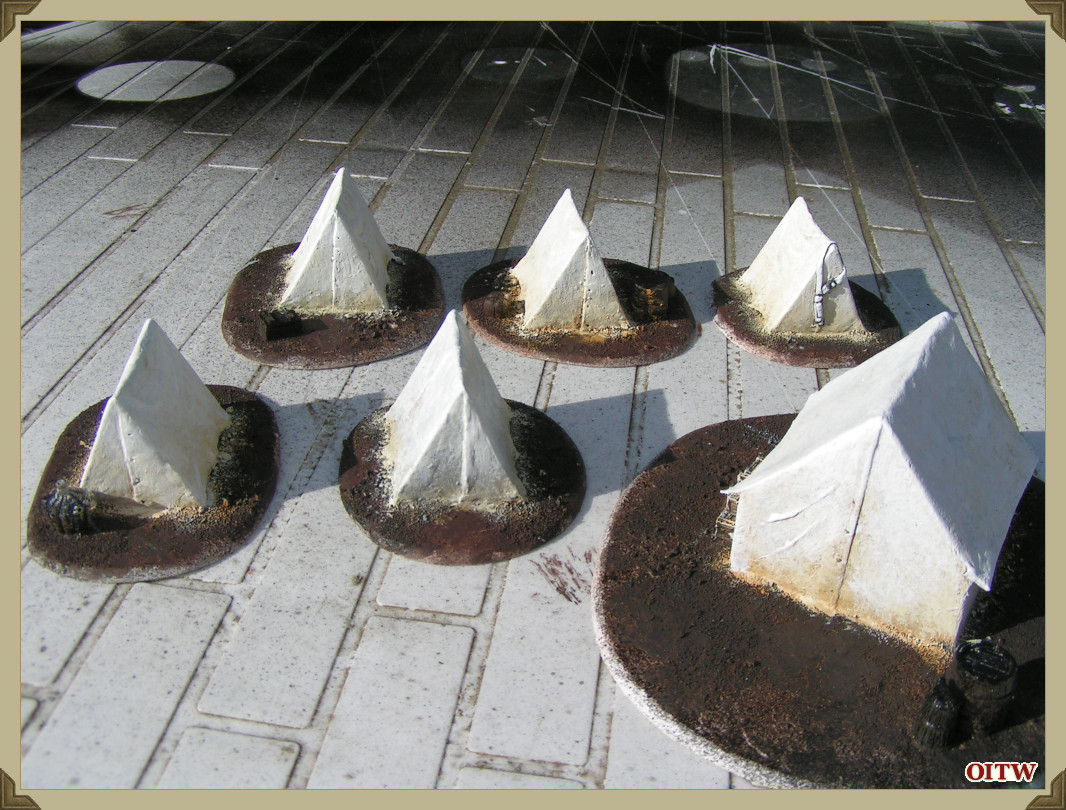
Construction
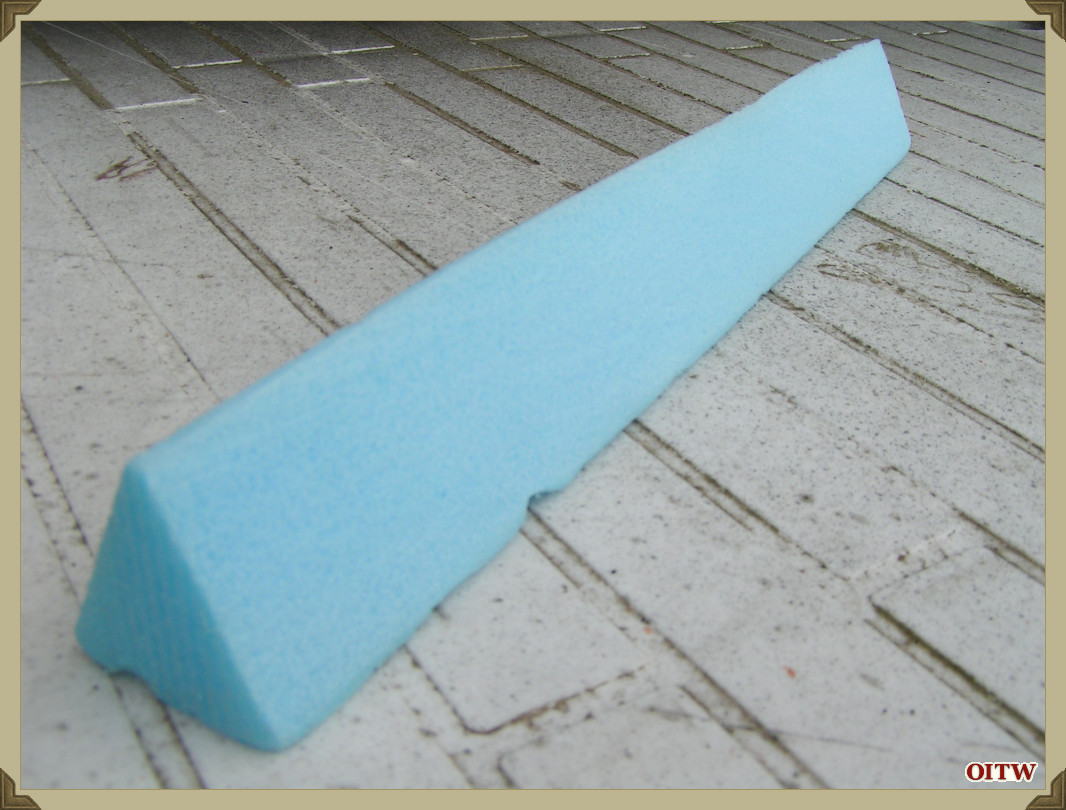
For the Small Tents I started with a length of Blue Foam, 35mm tall and 32mm wide. The sides were tapered on each side and I cut it into 40mm ‘pup tent’ segments.
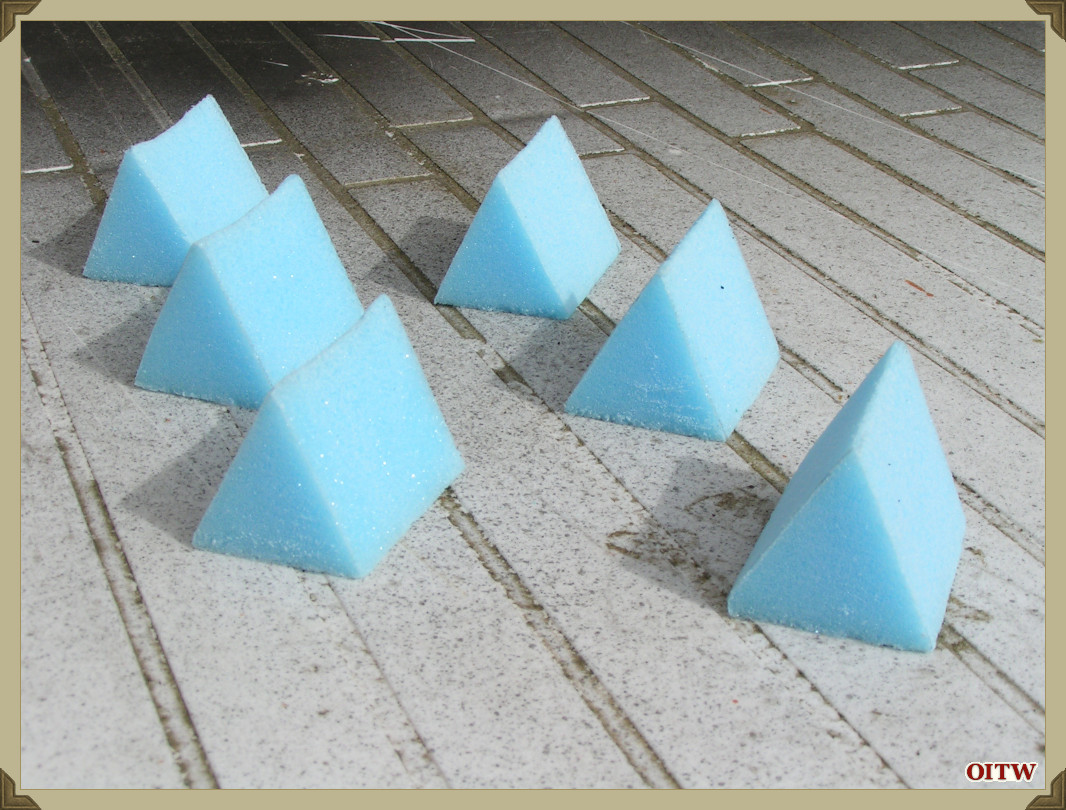
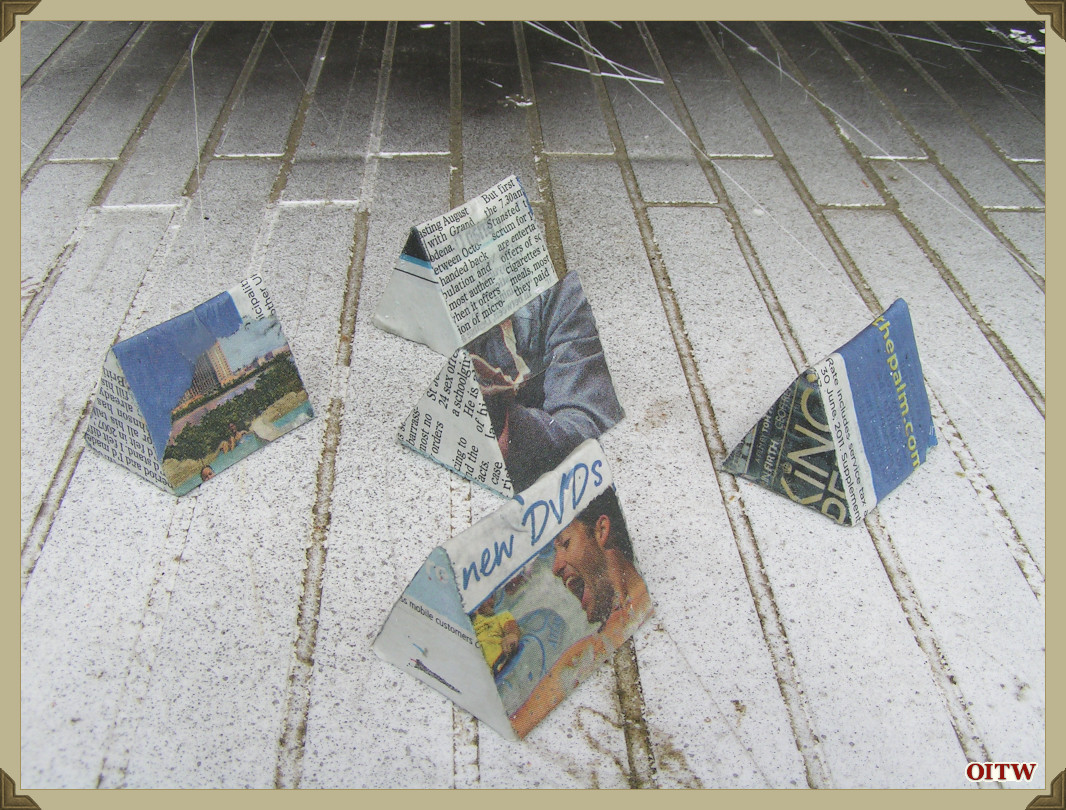
I have sanded the tents with some sandpaper and given the ridge a slight curve. Once this was completed, I added scraps of newspaper to the ends with uPVA glue. To speed up the drying time, I used a hairdryer and then added two more pieces of newspaper across the top and down the sides.
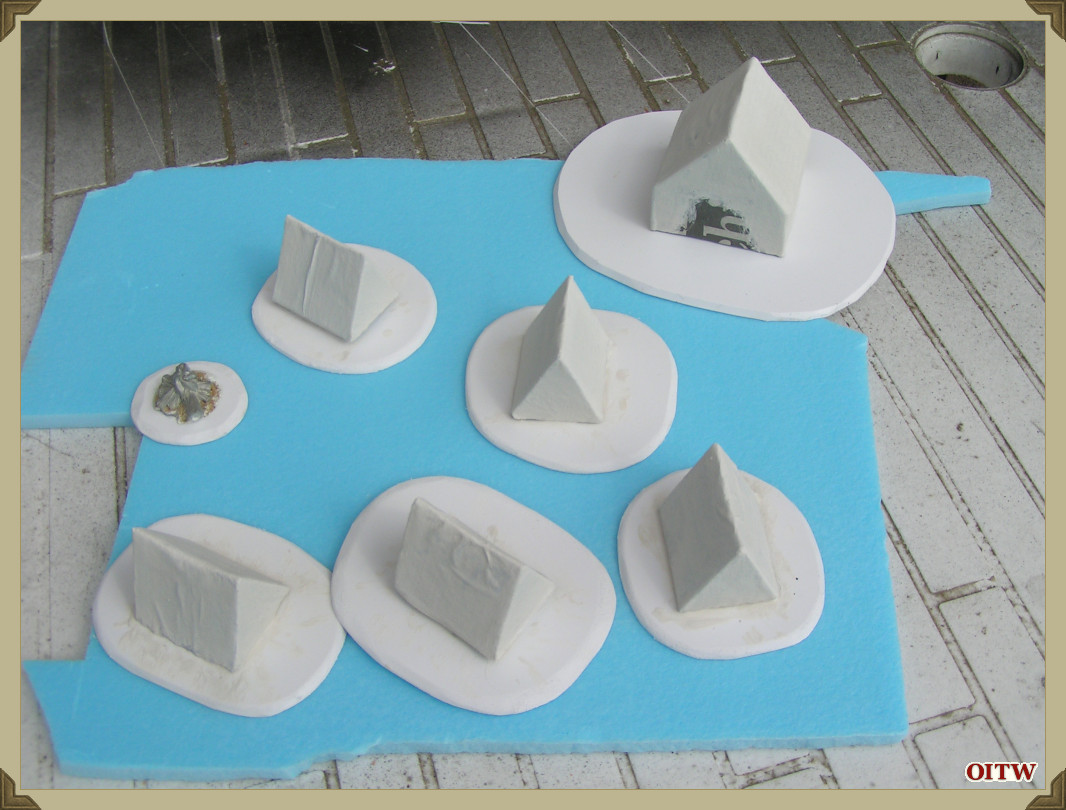
While the newspaper was drying I cut five ovals of 3mm thick plastic card, chamfered the edges and sanded the sides smooth. The foam tents are glued in place with my hot glue gun (some are mounted onto card spacers to vary the height of the groundwork).
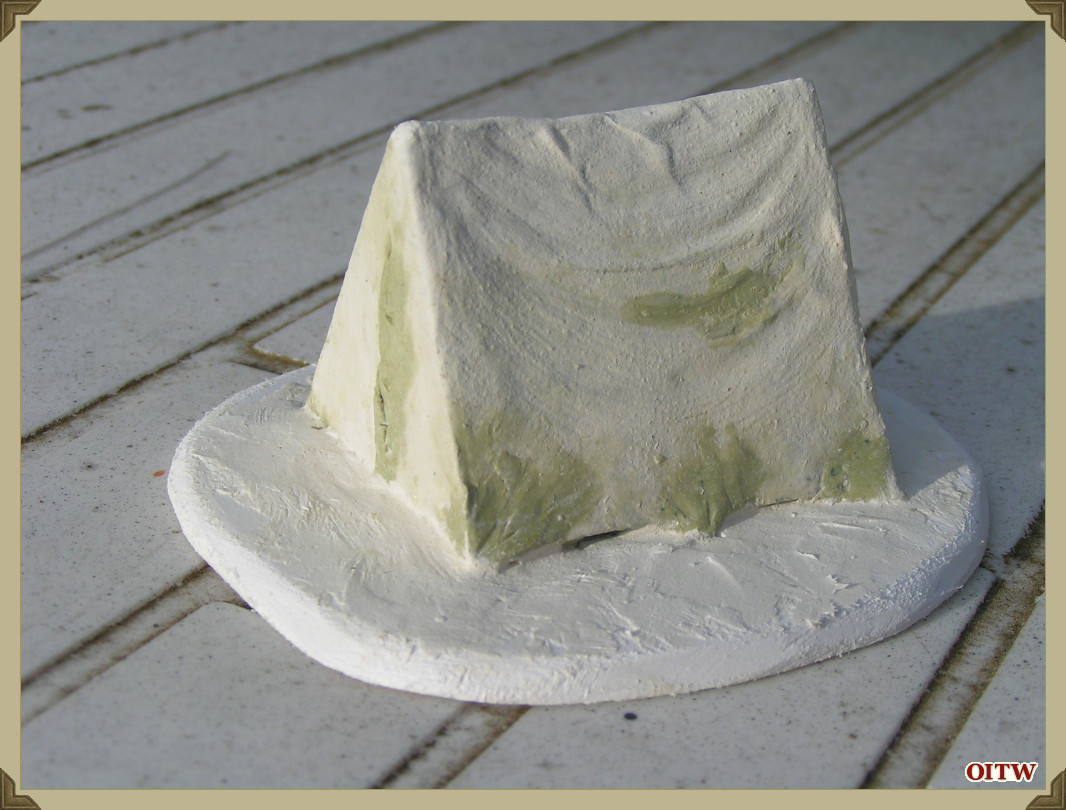
Next, I mixed up a cocktail of ready mixed filler, uPVA glue and white acrylic paint then liberally coated the whole model with it. When dry a second coat was applied and again when dry, I sanded the surfaces smooth.
In an attempt to further define the tie-down areas of the small tents, I have used a small amount of Milliput in the corners or edges of the tents sides. I was surprised and pleased to realise that I was able to impress slight folds or creases into the sides of the tents by using a blunt modelling tool. I softly pressed the tool into the tent sides in a slightly curved fashion, an easy operation due to the Blue Foam core.
I have built up the ground work with DAS modelling clay and added some resin castings of various pieces of clutter. My intention is to make the camp look ‘occupied’.
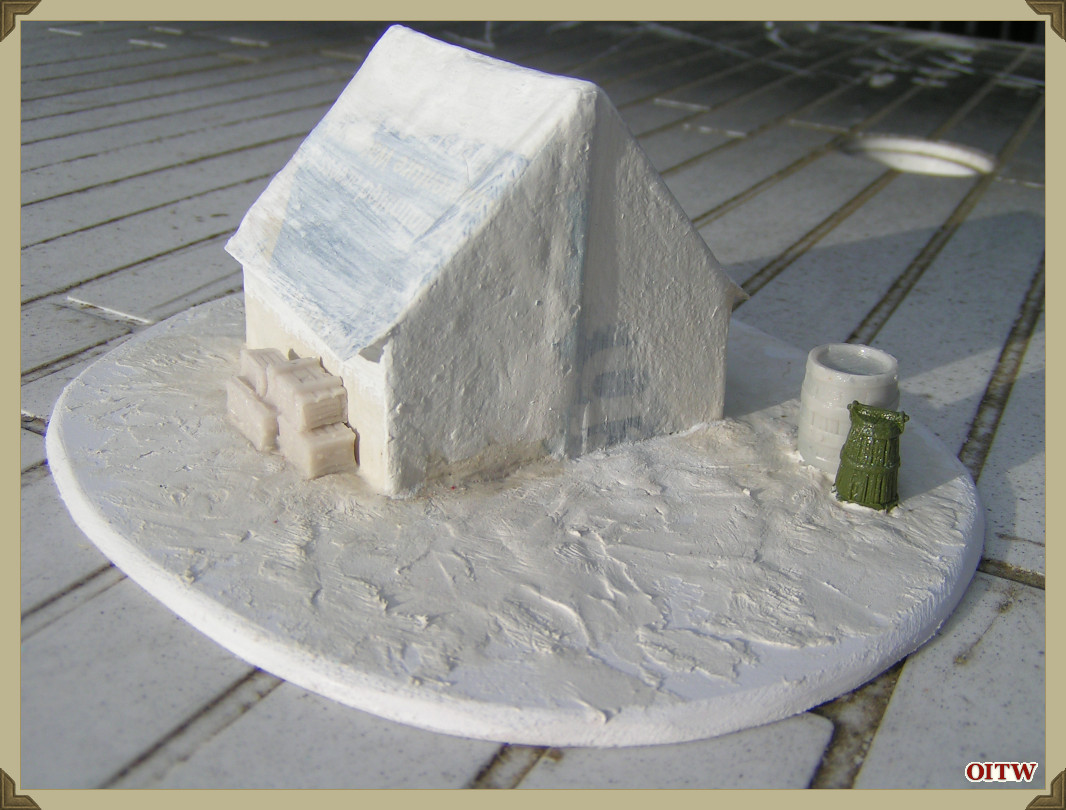
The larger officer’s tent was constructed out of two pieces of Blue Foam, glued together with a hot glue gun. The horizontal sides are 22mm high with a total height of 50mm and a depth of 60mm. The ends and sides were covered in newspaper scraps.
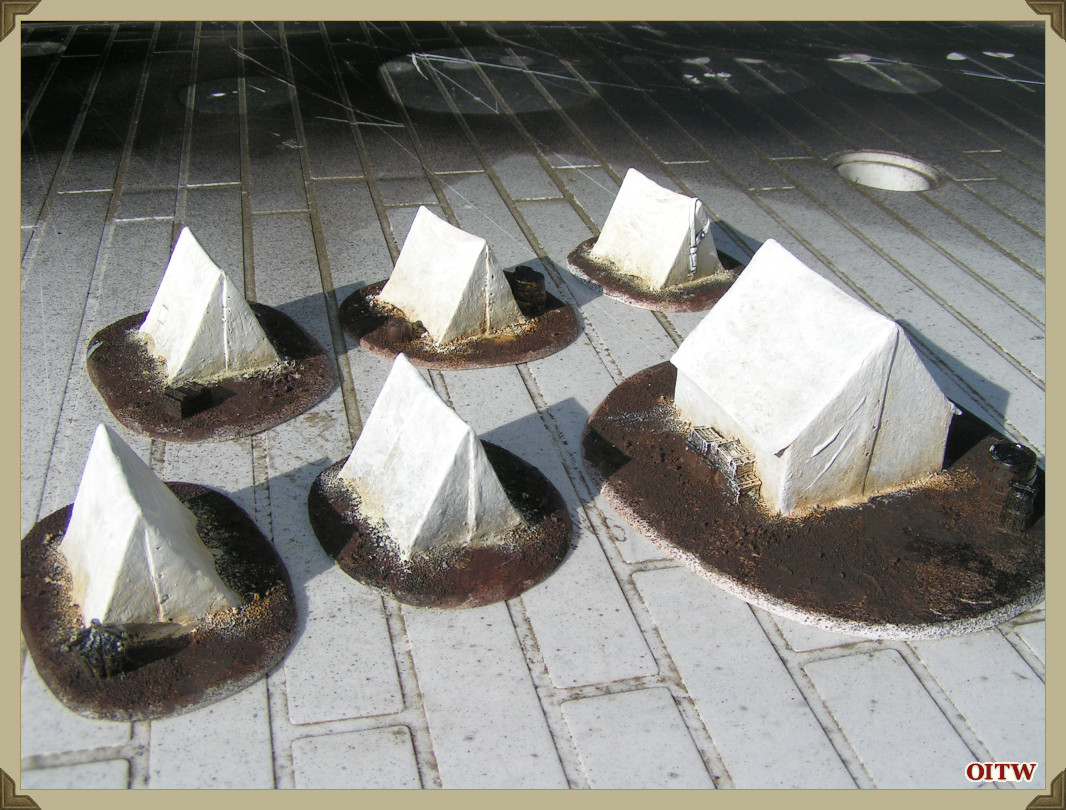
The model was first mounted and then painted with filler, uPVA glue and white acrylic in the same way as the smaller tents.
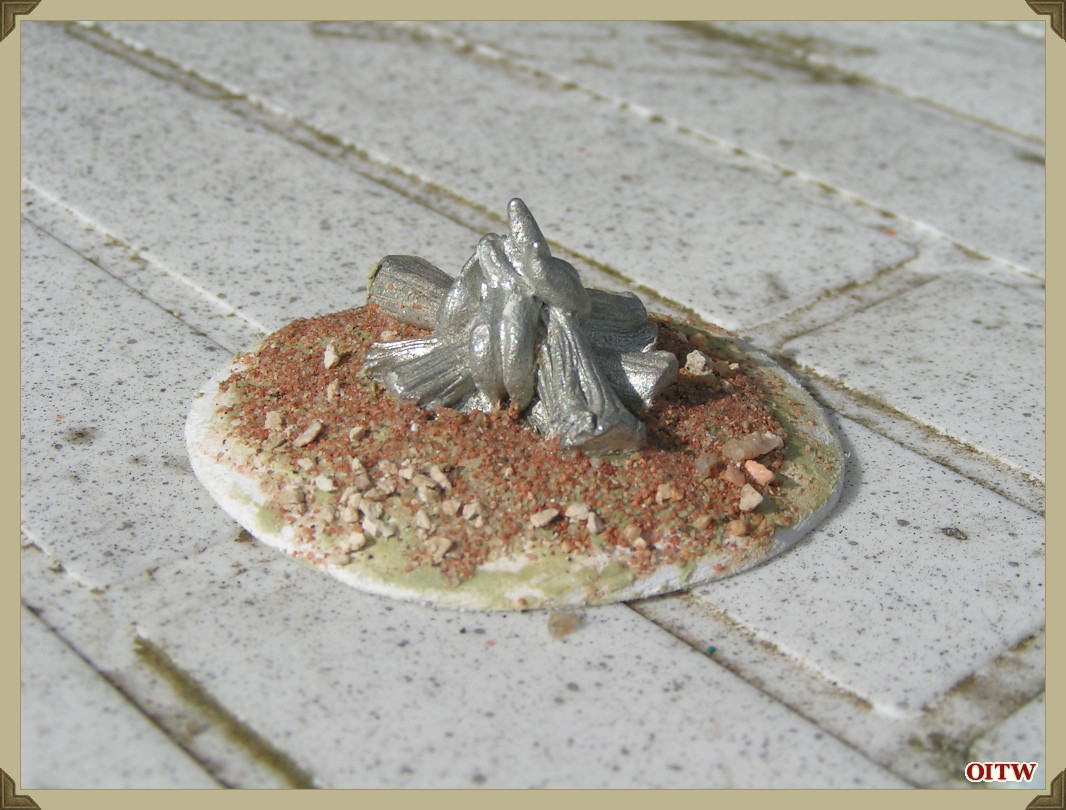
The metal fire is an Alternative Armies casting that I have been wanting to use for ages. It was part of the Camp Followers Box Set and has laid un-loved in my spares box for some years. It is good to see it being used at last.
The fire has been superglued to an oval of 3mm plastic card and the groundwork built up with Milliput.
With all the main pieces based and the groundwork built up I have further textured the bases with small stones, sieved grit and fine sand over a uPVA basecoat. I have also used some thick acrylic paint applied with a brush to exaggerate the various folds and creases in the roof and sides of the tents.


I still want to add at least one stand of equipment, but for now the construction is completed and the next step is painting.
Painting
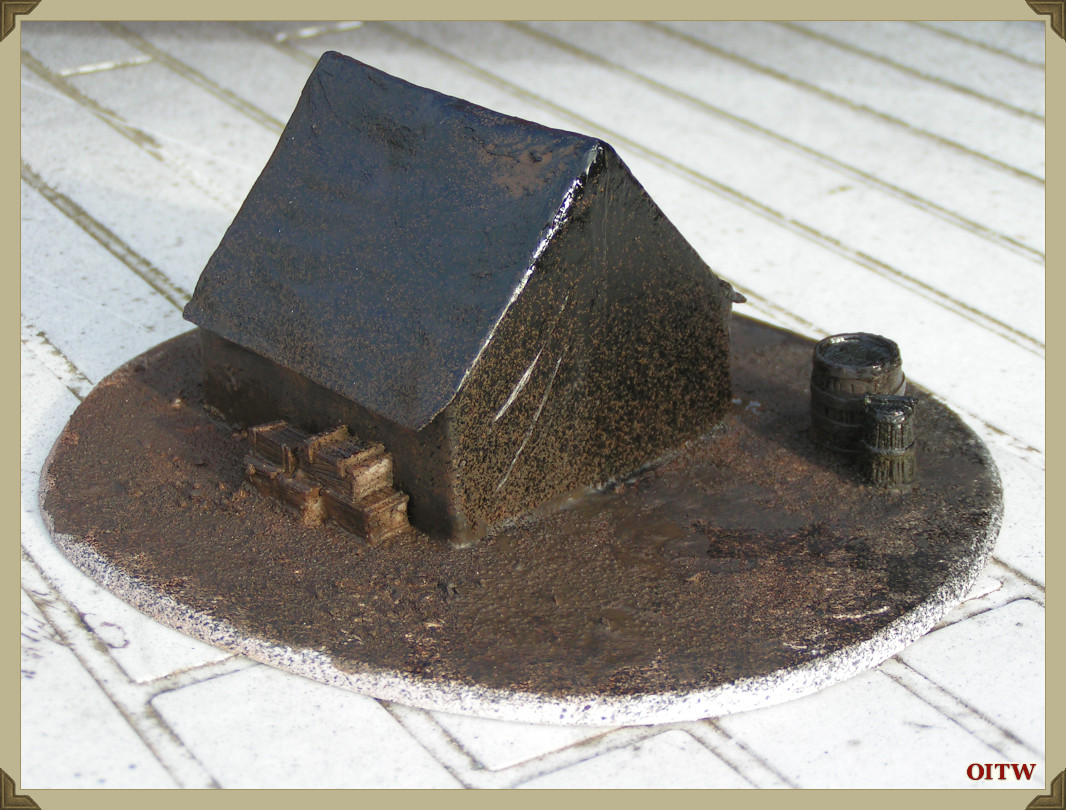
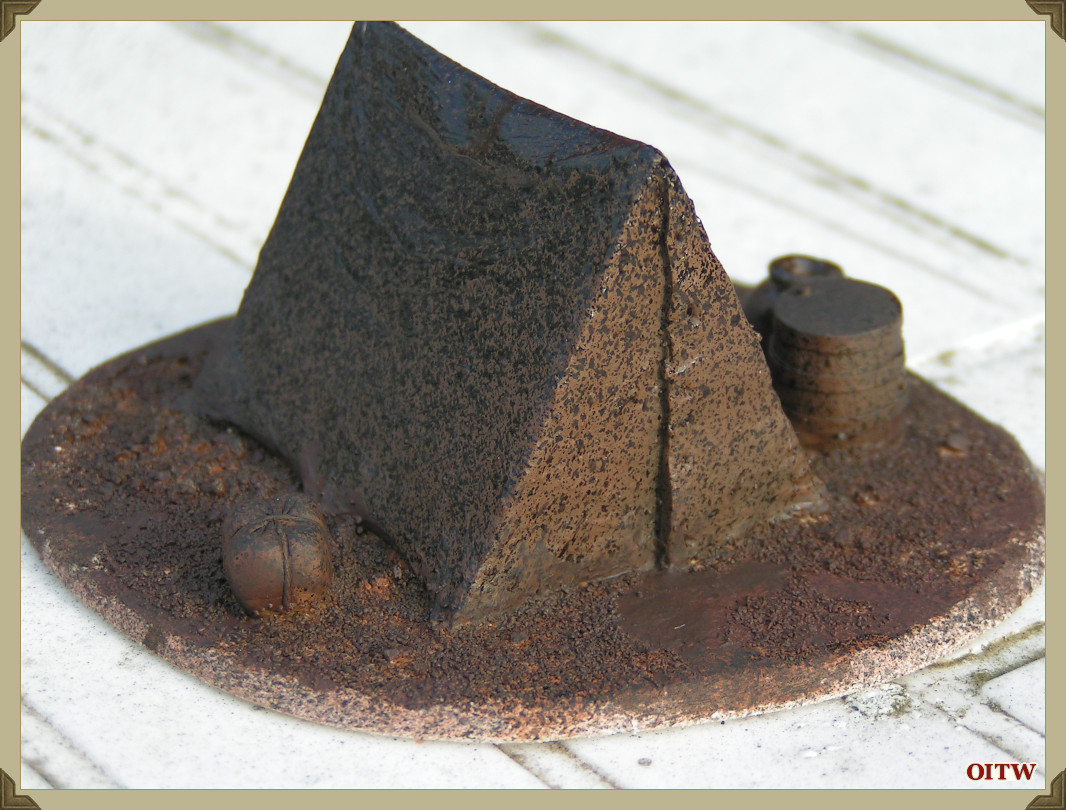
As with previous articles the basecoat is a very dark brown almost black in places which was applied with a spray can and then touched up with acrylic paint and a large soft brush.
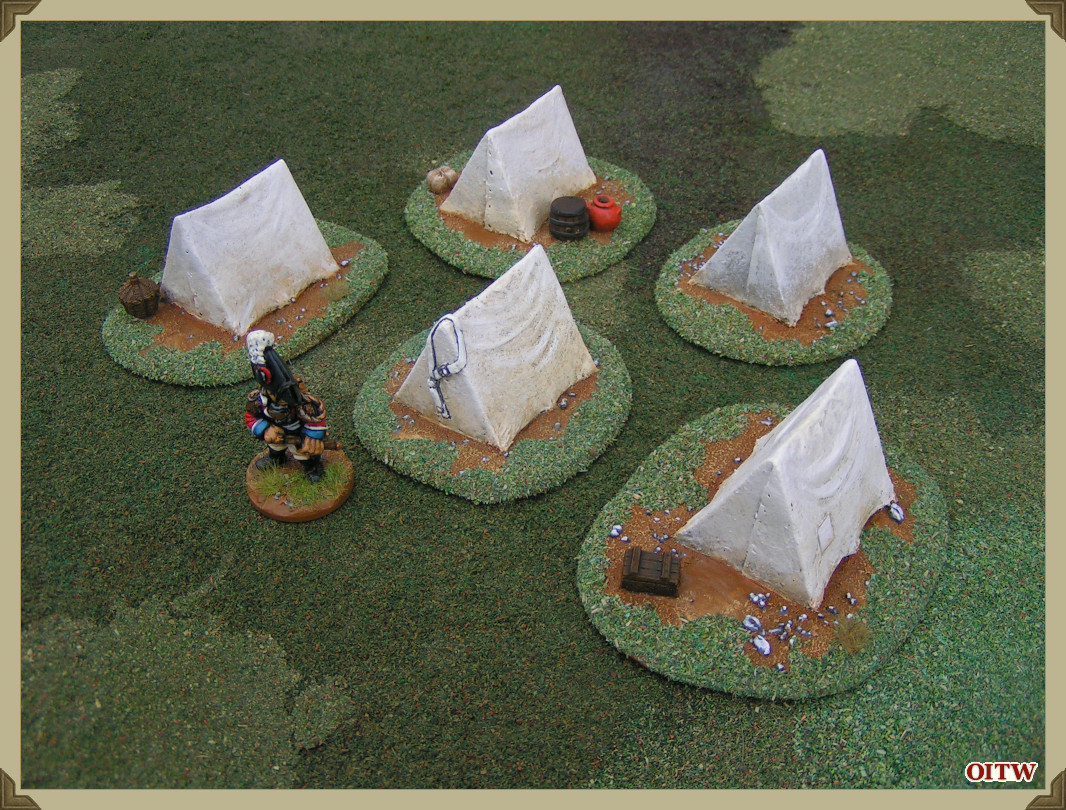
I felt that it was important to get the colour of the canvas right and spent some time experimenting. In the end I have used a mix of Snakebite Leather and Skull White both from Games Workshop, the first coat was about 50-50, the second more Skull White and the third, about 90% Skull White. The final highlight was White from Coat d’Arms which was drybrushed to the top and ridge of the tent. I feel that this very light cream colour gives warmth to the unbleached canvas and is less stark than a simple Black/White mixed grey.
The tents were painted in slight variations of these colours as I wanted the tents to look less uniform. In fact one is painted over a Snakebite Leather, Skull White and Vallejo Stonewall Grey Base to add some alternative colour.
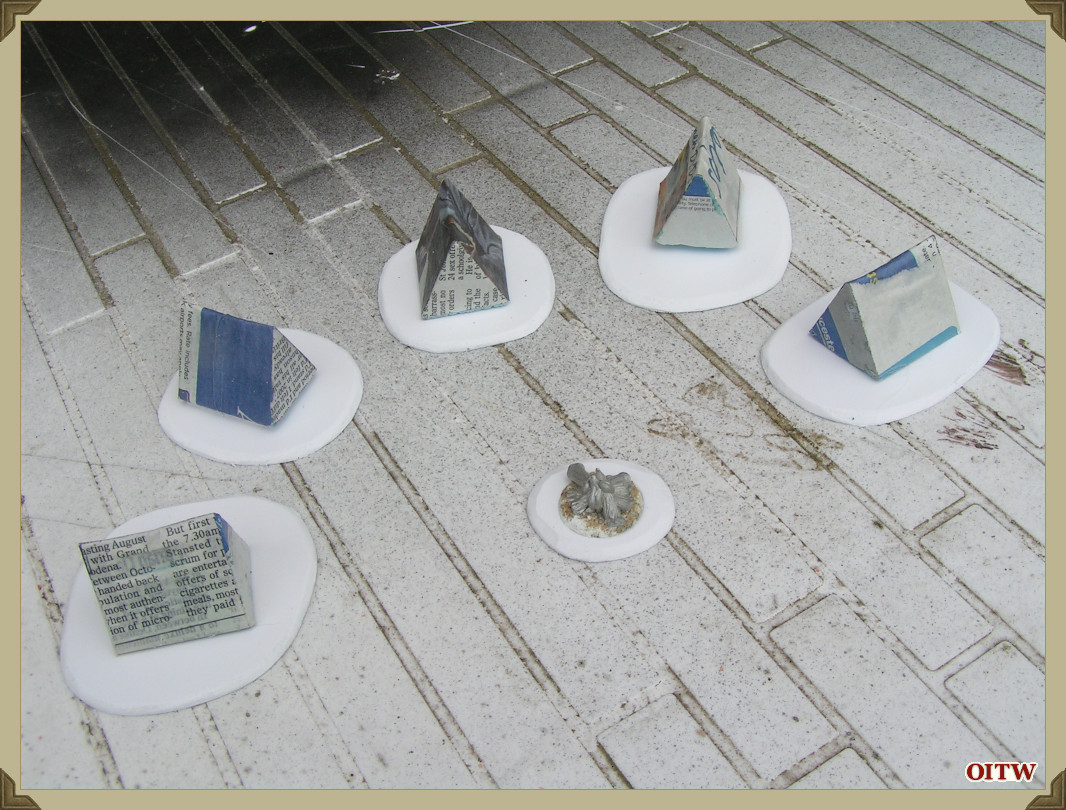
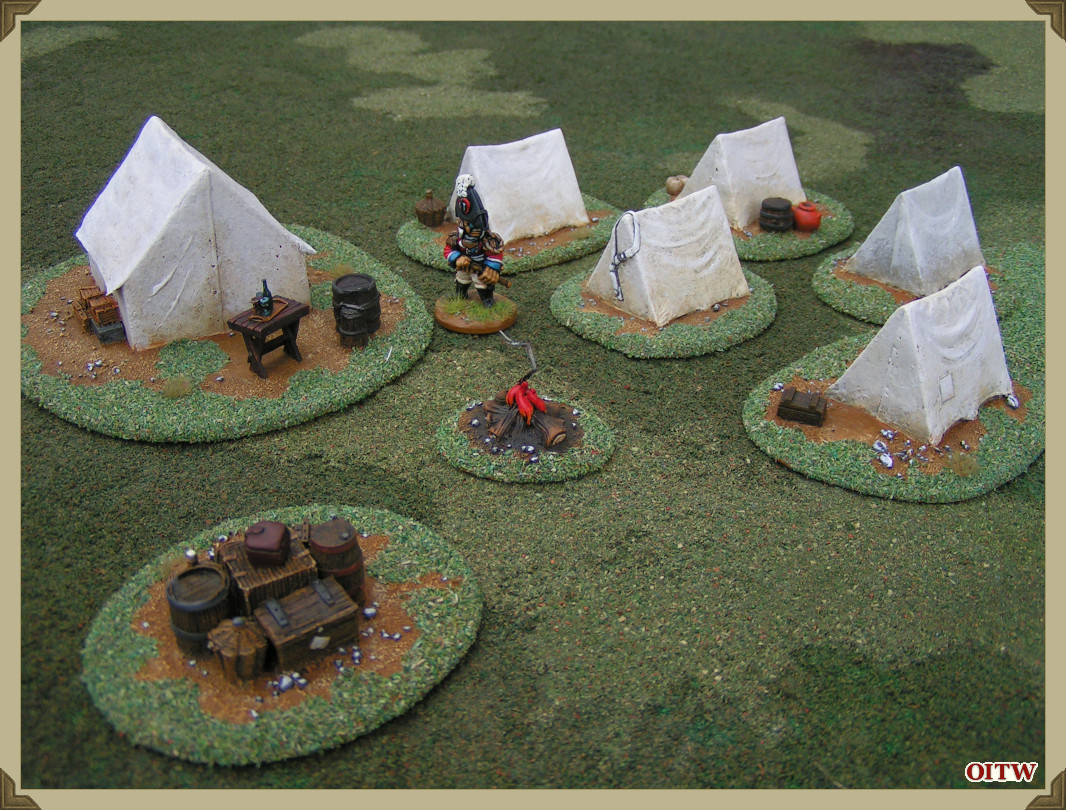
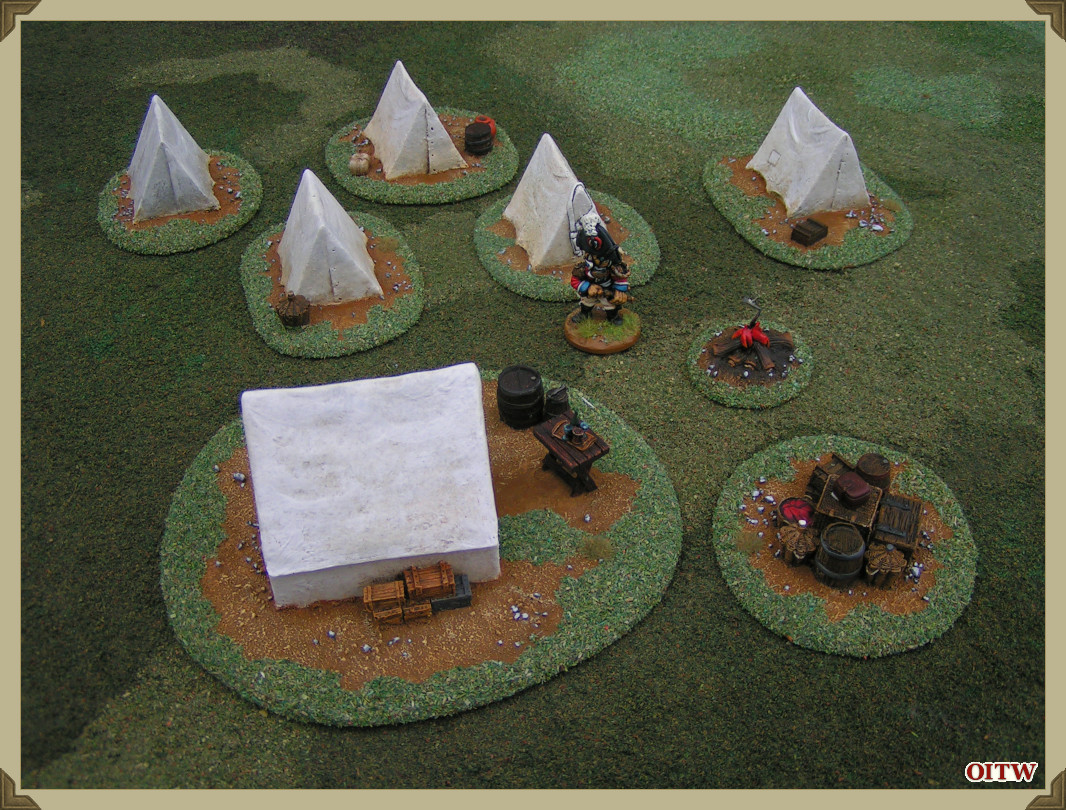
In this photo I have arranged all six tents to show the variation in colour and the items of clutter.
The groundwork was painted in my usual scheme – sorry if you’ve heard this before. Snakebite Leather basecoat and at least three highlights using Snakebite and Skull White in different combinations. A random selection of small stones were picked out in grey – mixed from Chaos Black and Skull White. Finally I have used a Sepia ‘wash’ to define the base of the tents and the groundwork.

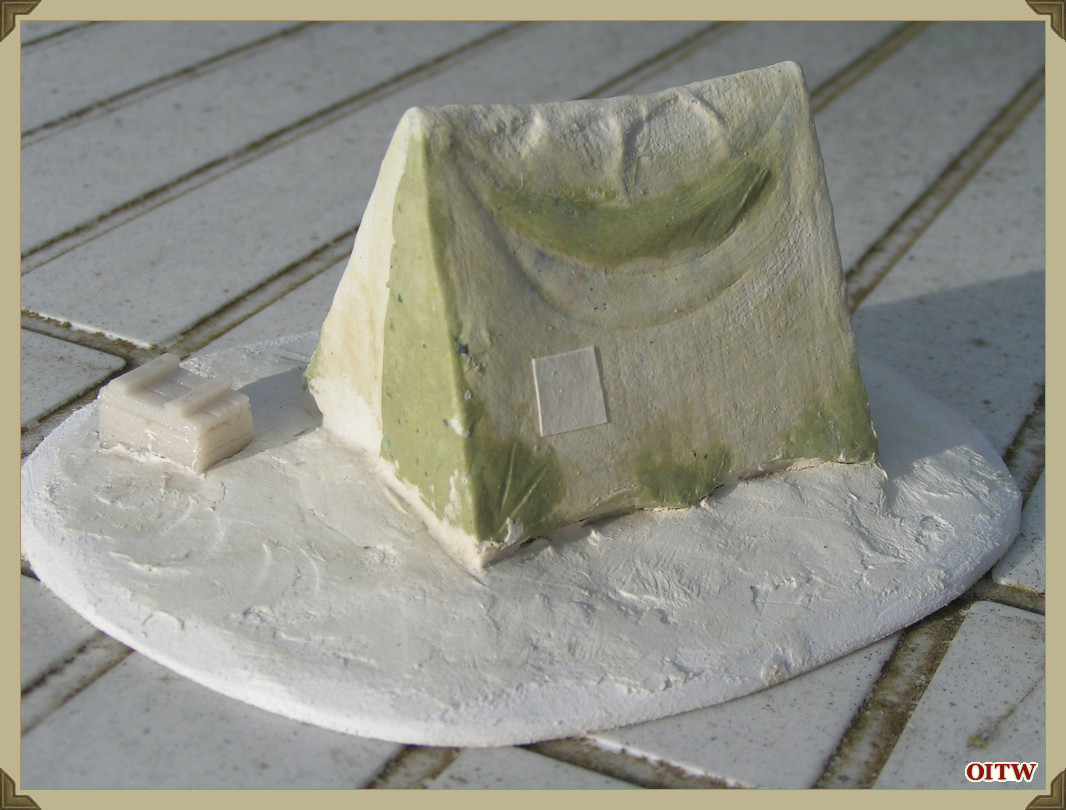
As stated earlier I have tried to vary each of the five smaller tents, adding clutter to the bases, painting in slightly different colours, even adding a couple of canvas patches to the sides. As a group I think they look ‘used or lived-in’.
There just remains some detail painting. First I painted all the bits of clutter, the barrels, the boxes and the terracotta jug. At this stage I felt that the officer’s tent was missing something and so I built a small folding table and rummaging through my spares box I came across a small cast metal tray which had one bottle, a tankard and two glasses moulded on to it. The table took a couple of minutes to model, the painting took a little longer – due in the main to the fact that I had difficulty holding it while painting it!
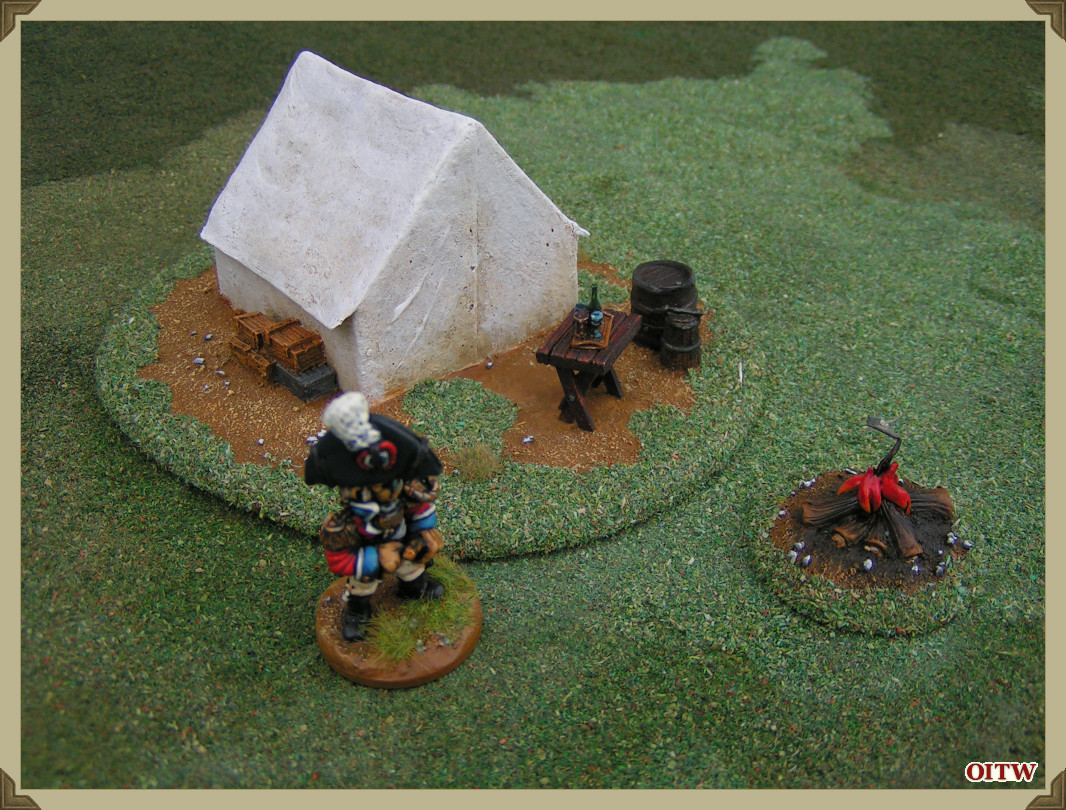
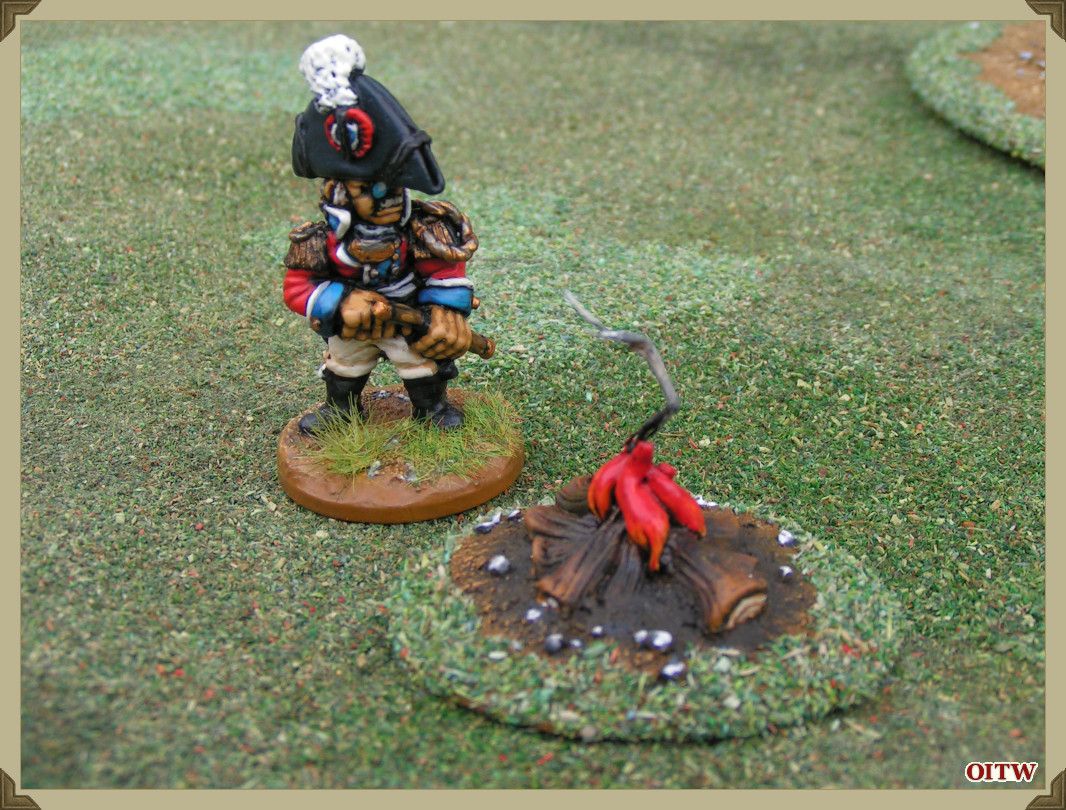
I also added a couple of pieces of tall grass to the Alternative Armies fire - painted them grey to represent smoke and twisted the grass into a corkscrew shape I think it works. A quick matt varnish and some gloss varnish on the flames of the fire and the painting was well and truly finished.
I know that there are some cardboard, ‘cut and fold’ model tents available as well as plastic and resin models, any or all would work in a fix, but all eight of these pieces were modelled and painted in a weeks worth of evening, the real satisfaction was knowing that these are unique and cost near nothing to make. Using just scraps and some resin castings that I had in my spares box I have a set that can be used in many gaming scenarios. In fact the only cost incurred during the whole project was a new set of batteries for my digital camera.
The final piece of construction was to add some dyed sawdust to the sides of the bases. I always add this to my bases as it helps to ‘blend-in’ with my gaming table which is covered in the same material. I used uPVA glue which I brushed on in a random manner and then dipped the piece in a tray of sawdust. I find that the sawdust sticks better if you can leave the model for some time allowing the glue to fully dry before shaking off the excess. There are a couple if clumps of static grass glued to the bases – just to break up the overall green.
I can use these tents and clutter as separate and individual bases or as a full marching camp. As I was modelling the group I found myself imagining different scenarios as to how they could be used. I would recommend a similar group of tents to any gamer – they are a very practical and interesting piece of wargaming terrain.
~
Webmaster's Notes
This article was originaly published on Alternative Armies' content portal, Barking Irons, and is reproduced here with permission from the author.